Two Tone Painting
Two tone paint jobs are pretty important, especially when you're building replicas of cars from the 50s and 60s. many customs and race car replicas also need multiple colors for an authentic look. Here are a few simple steps for creating a great looking two tone paint job.
Before you get started, you'll want to do all the necessary body work and cleanup of the model and apply several coats of primer. It's always a good idea to start by painting the lightest color first. Make sure that the paint is completely cured before proceeding. I usually wait at least two days for lacquer. Enamel and acrylics may take longer to cure.
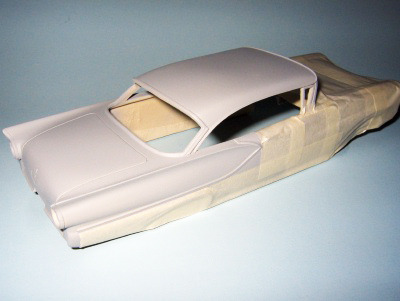
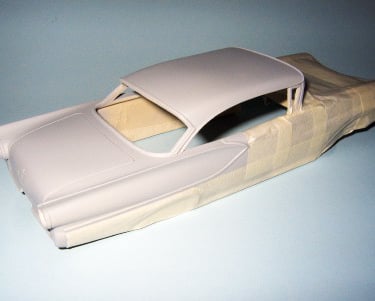
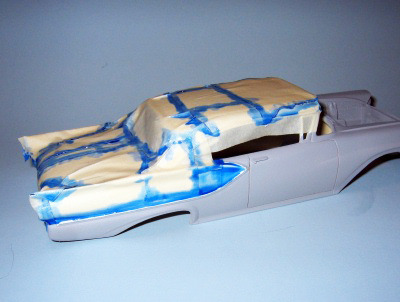
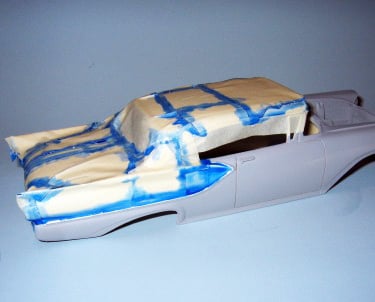
Start by applying masking tape to cover the main areas of the body where the darker color will be applied later. Don't worry about covering the smaller areas yet.
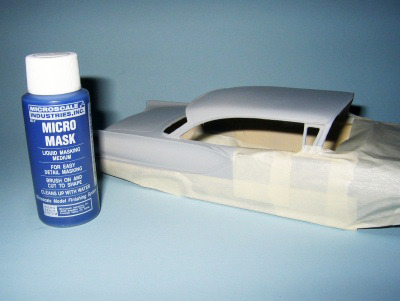
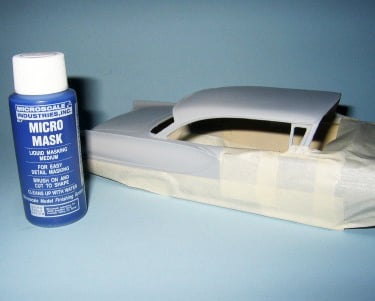
To mask off the smaller, more complicated areas, we'll use liquid masking. This is available at most hobby shops and online.
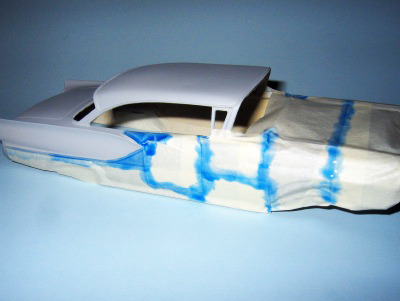
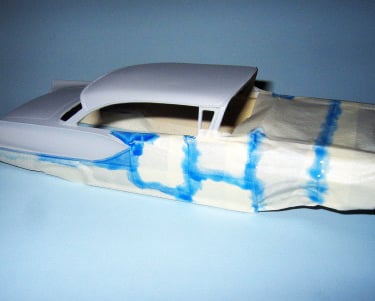
Use the liquid masking to fill in the smaller areas, such as along chrome trim as you see here on the rear quarter panel. You'll also notice that I've applied the liquid masking to cover seams in the masking tape to avoid any bleed-through.
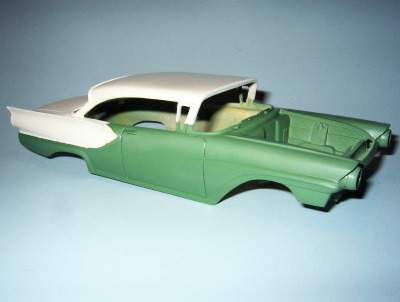
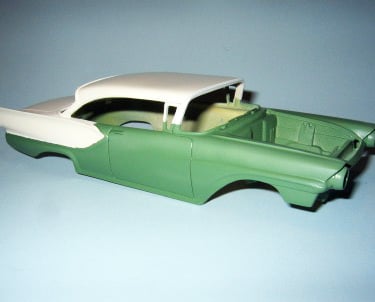
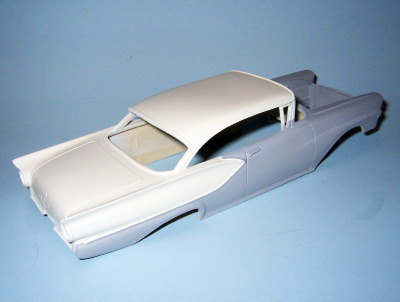
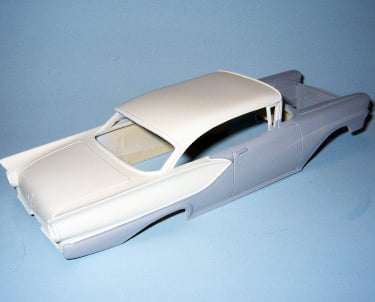
Here the first color coat has been applied and the masking material removed. Again, be sure to let the paint cure before removing the masking.